
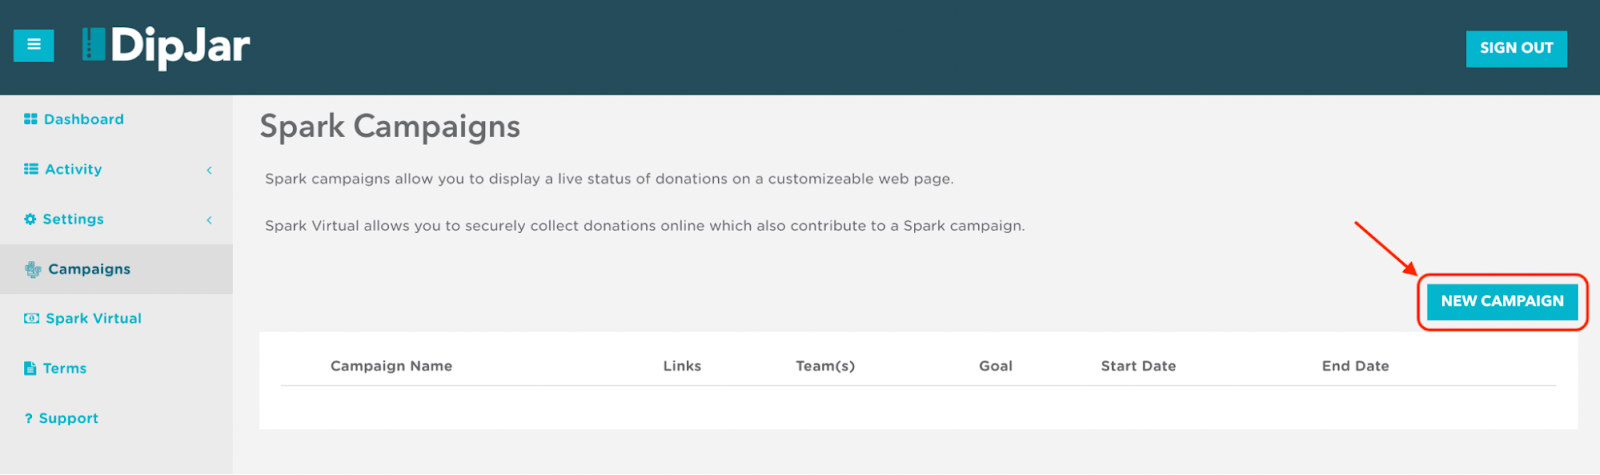
You can begin creating a campaign in your Dashboard by navigating to the Campaigns tab. Here you will see a list of any previous campaigns that you have created. To create a new campaign, you can click on ‘New Campaign’ to open the Campaign Editor.
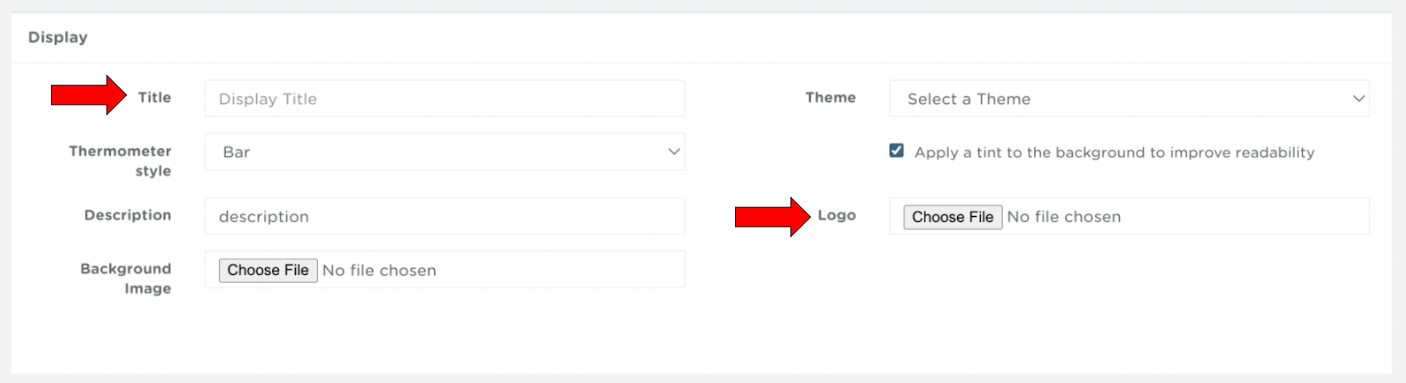
The majority of the visual customization of your campaign will be done through the Display section in the Campaign Editor. For a DipJar Pro campaign, you will only need to fill in the following fields of the ‘Display’ box:
Title: The Title is the largest text on your display, helping to grab the attention of your donors.
Logo File Upload: Upload a high-resolution image file of your organization’s logo we recommend using a .png file. The maximum file size for upload is 1.5 MB.
Next, the ‘Basic Details’ section allows you to set the metrics that define your campaign. The most important fields that should be filled in are listed below:

Name: The Name of your campaign is how you identify it in your Dashboard’s Campaign list. It will not appear on your display and is solely for your own use within the Dashboard.
Goal: The Goal allows you to let your donors know how much money you are hoping to raise during your campaign.
Campaign Donation Values: The Campaign Donation Values allow you to enter custom dollar amounts for the preset buttons that your donors will see on the DipJar Pro. If not filled out, the default buttons of $5, $10, $20, $50, and $100 will appear on the screen for donors to select.

Start and End Date: Here you will enter the start and end dates of your campaign. These can be updated or extended at any time.
Once all the required fields are entered for your DipJar Pro campaign, click save. From there, you’re ready to bring up the campaign on your DipJar Pro and start accepting donations!